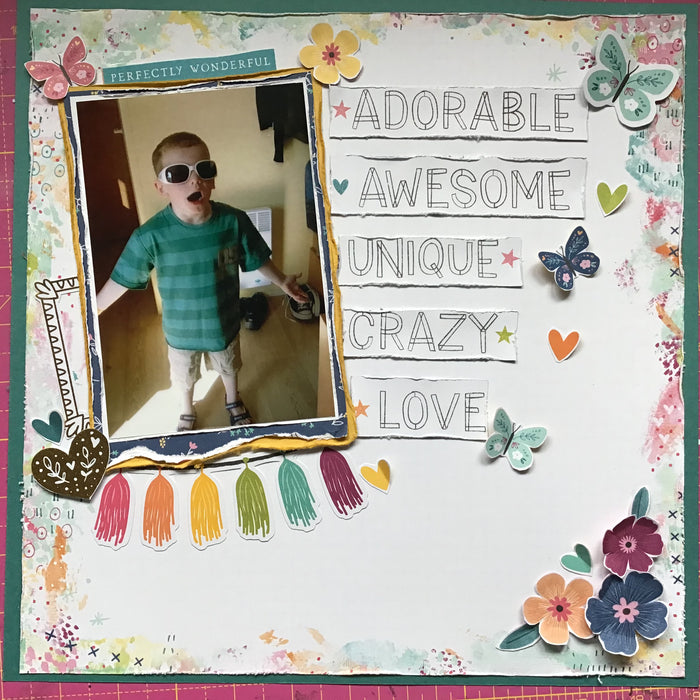
Layout 1 by KERRY MCINALLY
This kit is so bright and colourful, lots of lovely cut a parts and papers which lend themselves to fussy cutting.I began with a 4 x 4 photo which I backed onto some scrap white card stock, I then cut...
September is here and with it comes our bright and beautiful September Scrapaholix kits. These kits feature papers and products form Cocoa Vanilla Studio's Happy Days collection, and included in the main kit this month is a Crafter's Companion Glue...
After making two layouts from the kit, I still had quite a lot of card and paper left over. I really liked the idea of using the bingo cards as a little booklet of some sort and little books and...
Another layout using the August Scrapaholix kit. And an excuse for me to get more rub-ons 😂 I kept it simple this time. I’ve used the rub-ons to surround my focal point and the numbers from the sticker sheet that...
For this layout I used a 4x6 photo of my daughter which had been printed to give an aged look. I mounted the photo on some scraps of white and then black card. I cut 1 inch from two sides...
I’m not a regular part of the Scrapaholix design team anymore as I had too many craft commitments, but, Janine suggested I might be the resident guest designer when the monthly kit really appealed to me and was too much...
Use the Raven cardstock as your base. Cut a strip of the Simple Stories Vintage Essentials, Authentic paper, using the rulers. Cut two triangles from the piece remaining of the Authentic paper. The first triangle should be measured 3” wide x 4” deep and the second triangle is...
I’ve used the little details page as my background as I loved the musical notes. The photo is of my daughter and her friend at her birthday party and I have placed my photo in the top right as they...
I used the Stonehenge Bazzill card as my base and used a stencil (of your choosing) to add two stencilled areas using Tim Holtz distress Ink in Black Soot. I placed these top left and bottom right to create two largish...