
Scrapaholix July 2024 Kits - Secret Diary
Ooo we have a lovely kit for you this month! I adore the colours and imagery in this kit - it's Secret Diary by Stamperia. This range sold out with Stamperia within a week or two of its release, so...

Ooo we have a lovely kit for you this month! I adore the colours and imagery in this kit - it's Secret Diary by Stamperia. This range sold out with Stamperia within a week or two of its release, so...
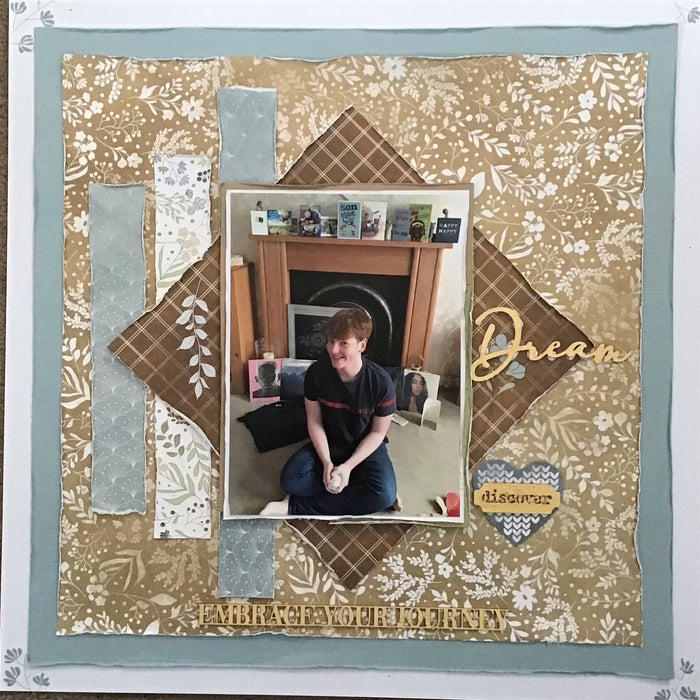
To start I trimmed the Coastal cardstock to 11x11 inches and the the no6 paper to 10x10 inches. I layered both of these, after distressing the edges, onto a piece of white cardstock. Then I trimmed the no2 paper to...
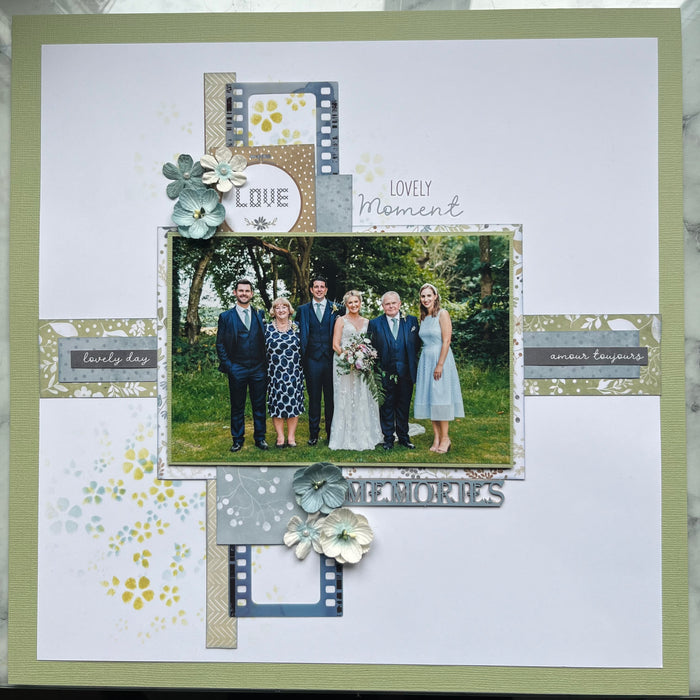
Gut the Pear cardstock leaving a 1” border. Cut the white card into an 11” square and mount onto the Pear frame. Mat the 6” x 4” photo on the gutted Pear cardstock. Use a floral stencil using two different...
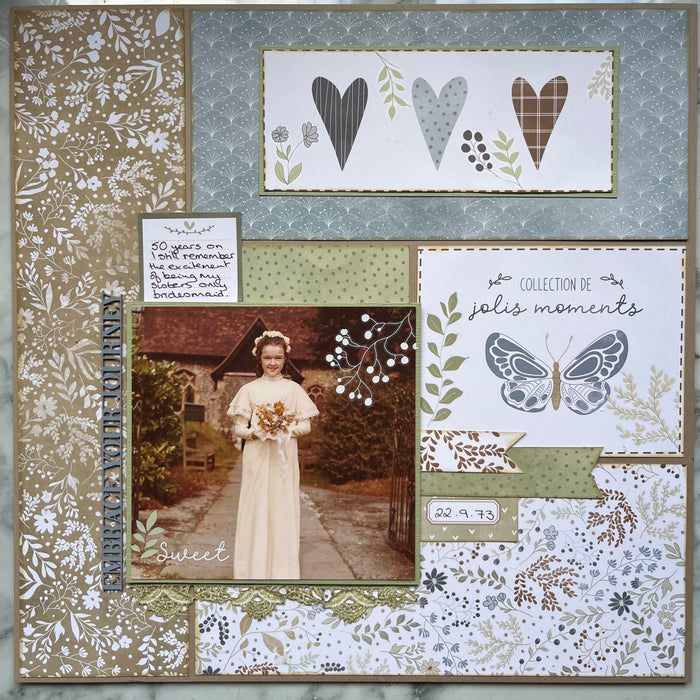
Take the Quicksand cardstock and trim the branding strip. Use the panels of patterned papers in the photo and create a grid LO similar to the photo. Mount the photo on the Pear coloured card and adhere using foam pads...
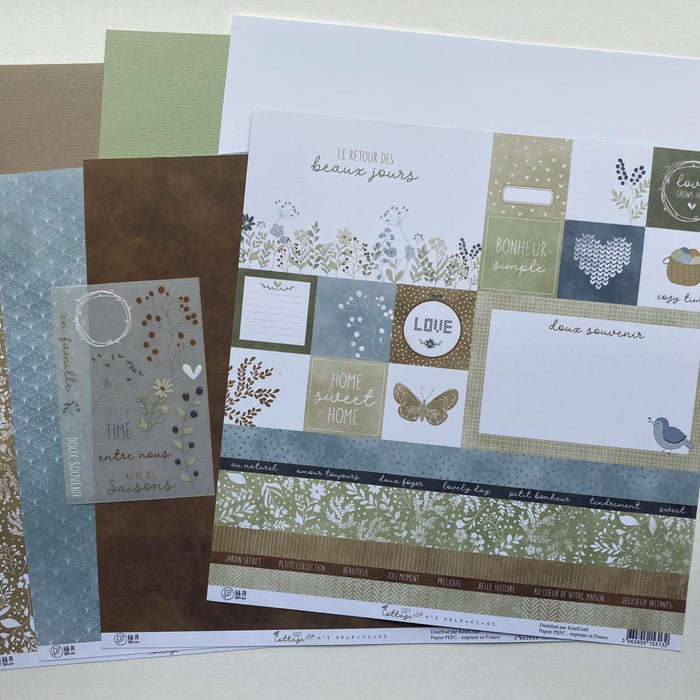
Our lovely April kits are now available, and you will not be disappointed! The kits for April feature papers and products from French brand HaPi Little Fox - the stunning Cozy Cottage range. We saw this when we went to Creative World in Frankfurt and...
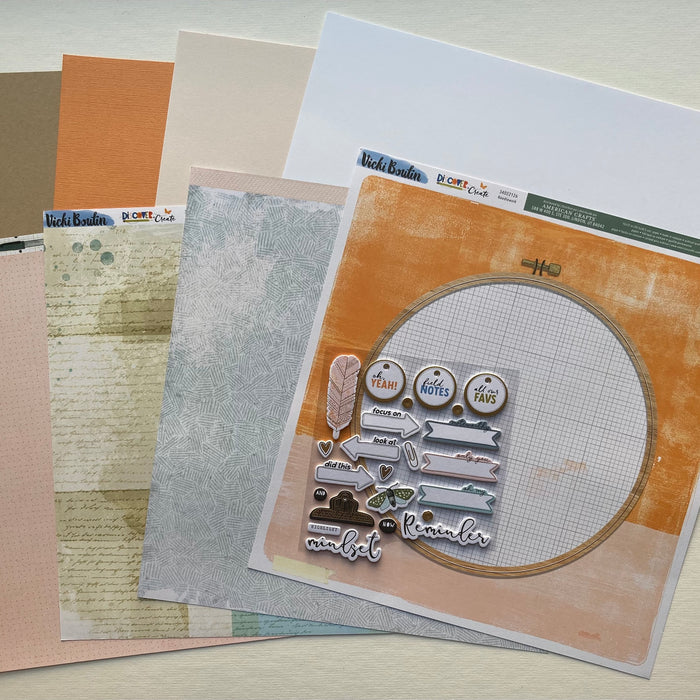
A very Happy New Year to you all! To start of the new year we have absolutely fabulous kits on offer for you! These kits feature papers and products from Vicki Boutin's newly released Discover + Create range. Here is the...

Every December we produce 2 kits, as not everyone's in to Christmas, and sometimes it's nice to have a choice. This year we have 2 lovely kits, the Christmas kit is from Australian company Uniquely Creative - their A Christmas...

Cut the branding strip from the Coastal card and use Tim Holtz Weathered Wood to distress a diagonal section as per the photo. To do this place, some of the Weathered Wood ink onto a craft mat and spray lightly with a mist of...

For this layout I used a 4x5 photo. I began by gutting the Fig Swirl cardstock and mounting a trimmed, 11.5 x 11.5, piece of the Bark cardstock onto it. I used the left over piece of Fig Swirl cardstock...