on orders over £50

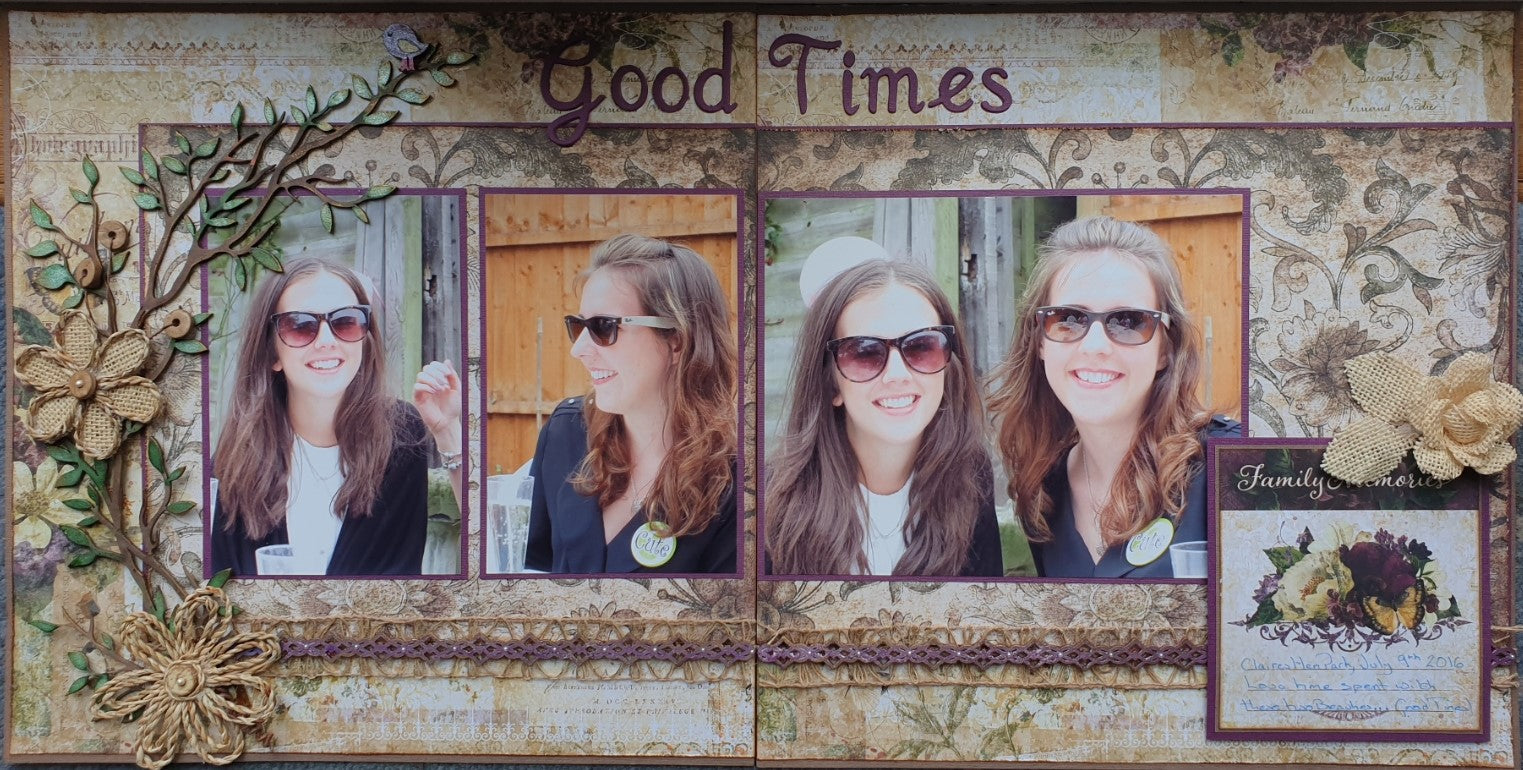
Good Times by JACKIE BURTON

A double page layout using April’s kit. I do not see my nieces very often and love it when I do. These pictures were taken at my now Daughter In Law Claire’s Hen party in July 2016 and great fun it was too!
I started by cutting part of the leafy frame away to use down the left-hand side of my layout. I then painted all my chipboard pieces and my wooden bird with white gesso. When they were dry, I coloured the leafy frame with distress stain Gathered Twigs, Lindy’s Starburst Spray Cattail Copper Brown and Drop Dead Gorgeous green magicals and lightly applied vintage gold wax to the tips of the leaves and some of the edges. I coloured the trims with Lindy’s Magicals Prima Donna Purple and Hi Maintenance Magenta and again lightly edged with vintage gold wax.

My base cardstock is two sheets of bark. Then two sheets of Frills cut to leave ⅛” border on three sides. I then cut two pieces of Charmed to 9¾”x8¼” and 11¾”x8¼”. I lightly distressed all the papers on three sides leaving the edge where the papers meet in the middle and inked the edges using vintage photo. I matted the two pieces of Charmed reverse side up onto two mats of Velvet with a border of 1/16” and centred these on three sides lining up with the right- and left-hand edges. I used two 4”x6” photographs and one 7.5”x6” photograph. I matted these on two pieces of Velvet 4¼”x6¼” and 7¾”x6¼”. I added the mats centred onto the pieces of charmed lining up again with the right- and left-hand edges. I applied a border of Jute lattice to the bottom of the Charmed Mats and placed the trims on top. I then added the leafy frame to the left-hand side and added some burlap flowers and my wooden bird coloured with Prima Donna Purple, Hi Maintenance Magenta and Bling-y-Blonde Magicals.

I cut family memories journaling block from a sheet of calling cards and matted this onto a piece of bark 4⅛”x4½” and then onto a piece of velvet 4⅜”x4¾” and added this to the right-hand page bottom right using foam squares to create height and added another burlap flower to the top right hand corner.

I then added some pearls to the trim.
For my title I used a Curlie Girlie dies, which I have had forever, and cut these from velvet cutting each letter 3 times and then stuck them together to 3D them and applied to the top of my layout.
Products Used:
Scrapaholix April Main Kit & Add On Kit -
Extra cardstock and papers used
2 x sheets of Velvet
2 x sheets of Bark
1 x Frills
1 x Charmed
Other products used
The Dusty Attic Leafy Frame set #2 — The Mad Scrapper
The Dusty Attic Fancy Trim #12 — The Mad Scrapper
Dusty Attic Pearls — The Mad Scrapper
Tim Holtz Mini Distress Ink Pad - Vintage Photo — The Mad Scrapper or Tim Holtz Distress Ink Pad - Vintage Photo — The Mad Scrapper
Tim Holtz Distress Spray Stain - Gathered Twigs — The Mad Scrapper
Lindy’s Starburst Spray Set - Autumn Leaves — The Mad Scrapper
Lindy’s Magicals - Drop Dead Diva — The Mad Scrapper
Art Alchemy Metallique Wax - Vintage Gold — The Mad Scrapper
Art Basics Heavy Gesso - white — The Mad Scrapper
3D GLOSS GEL – 2OZ TUBE — The Mad Scrapper or Finnabair Art Basics 3D Gloss Gel — The Mad Scrapper
Jute Lattice - Natural — The Mad Scrapper
Burlap String Edged Daisy — The Mad Scrapper
Mini Ink Blending Tool 1" Round — The Mad Scrapper
Scor-Tape - 1/4" Double Sided Tape — The Mad Scrapper
From my own stash:
Wooden bird.

Comments
Leave a comment